How to use
1. Turn on
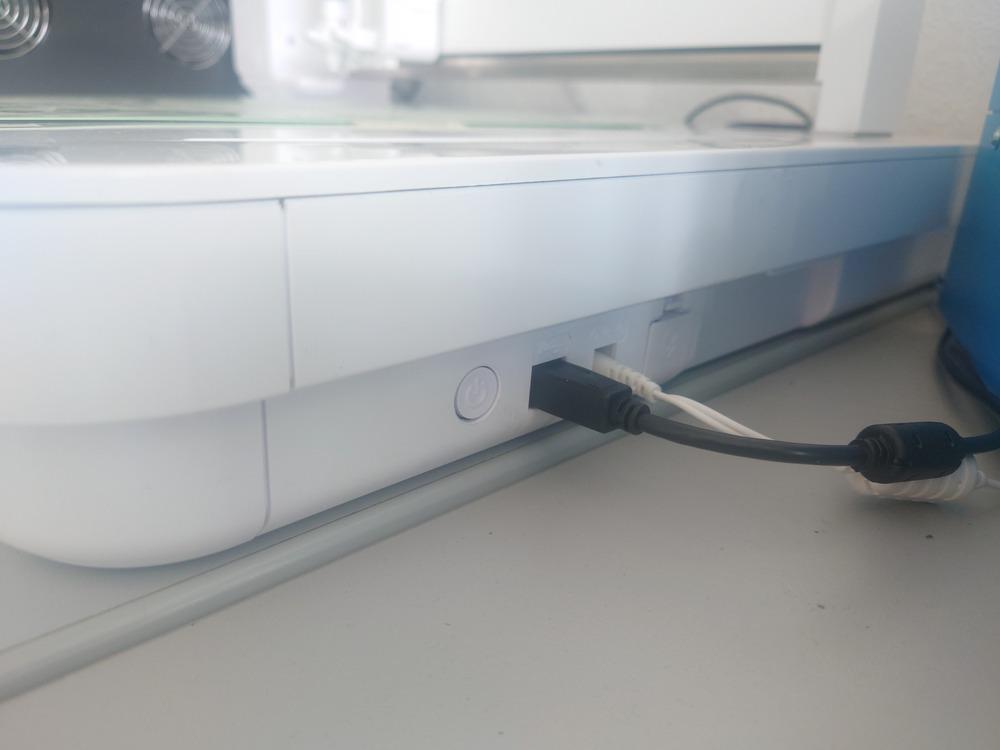
Press the power button on the right side for a few seconds:
2. Insert tools
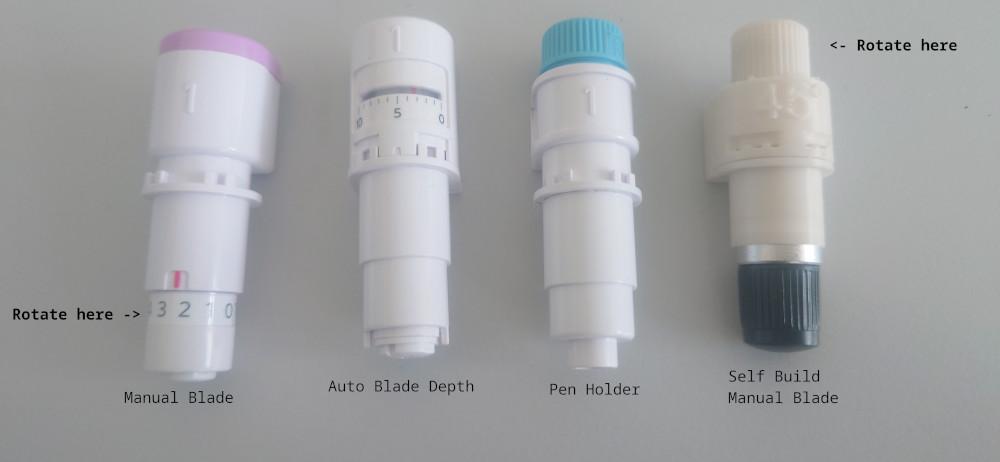
Next choose your tool you want to use, curentlycurrently there are:
| Tool | Feature |
|---|---|
| Curio Manual Blade | Tool with blade, where the tool-depth needs to be adjusted manually - adjustment and disamble by rotating the bottom scale |
| Curio Auto Blade | Tool with blade, where the tool-depth can be adjusted with the software, it then drives into the left side of the machine and presses mechanically the tool down - press the bottom to manually set the tool-depth |
| Curio Pen Holder | Tool for a penn, which can be tightend on the top, an the top part can be changed for different pens |
| Self Build manual tool | Self printed manual tool, like the above, but to adjust it, rotate on the top - rotate the bottom to change the blade |
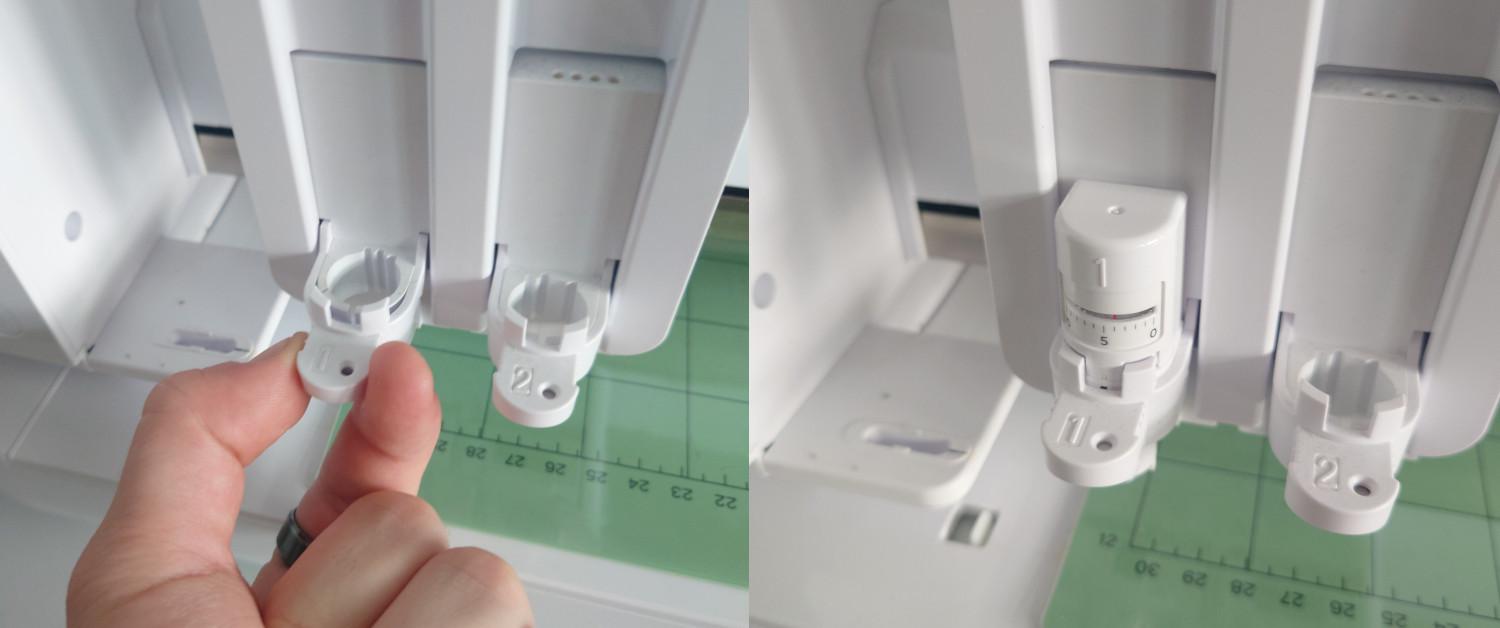
All tool belong into SLOT 1.
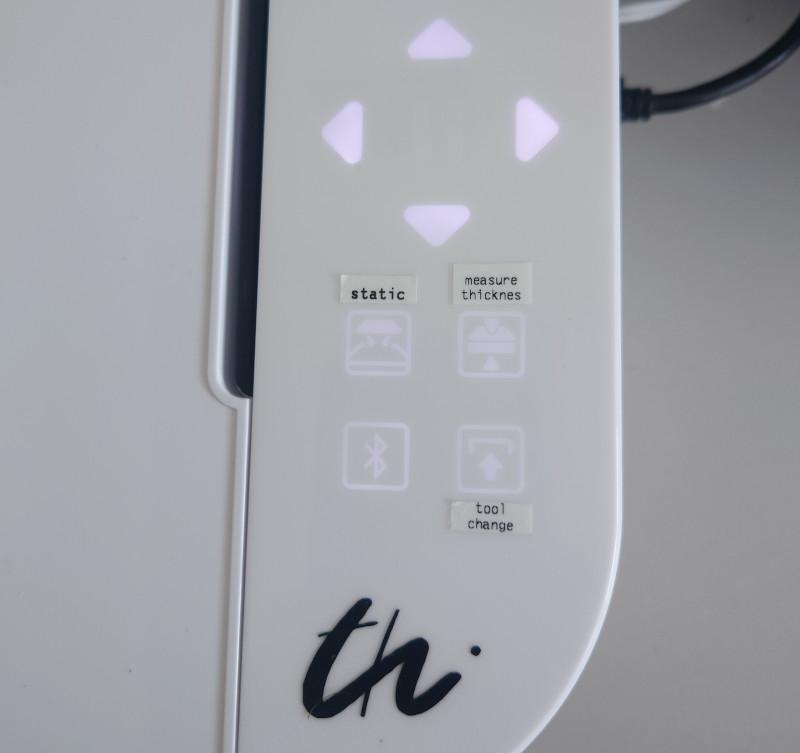
Then you can use the 'Tool Change' button to move the machine to the front or back (arrow keys) and insert the tool.
Then to change the tool, pull on the latch, place the tool and push on it.
3. Place Material
4. Make a test cut
- When you use reflective media,apply masking tape and then detect the thickness at that position.
- The sensor is attached to the bottom of the Tool Holder 2.
5. Import into software
- DXF R12!!!


