How to use
0. Wear Safety Gear and Setup Suction
Safety glasses are found in the cabinet next to the door and before starting, install the tube to the upper window like here:

1. Turn on Suction, Cooling and Laser
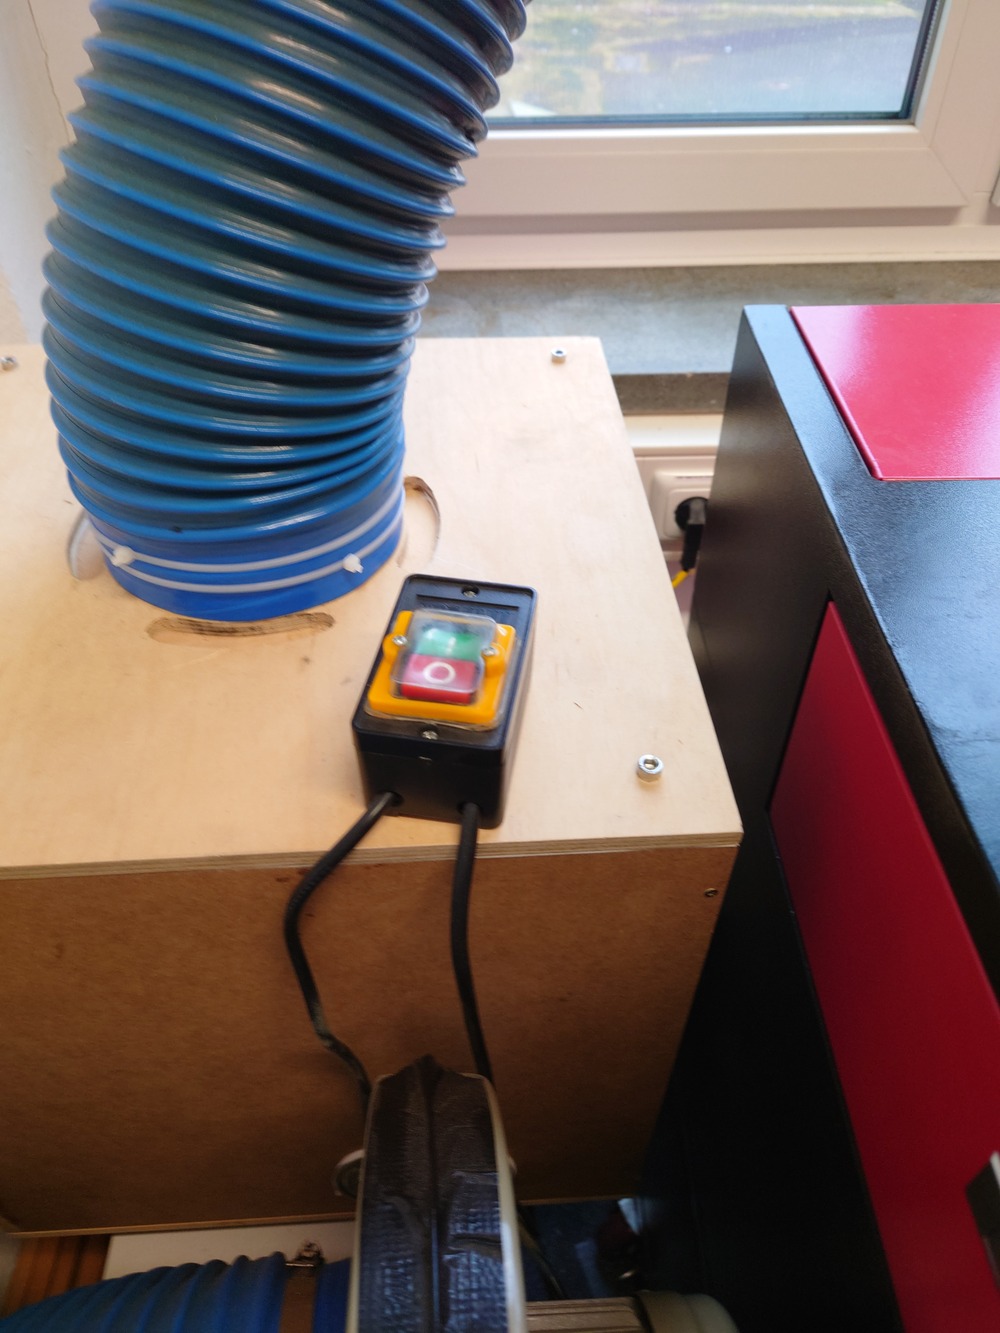
First turn on the suction:
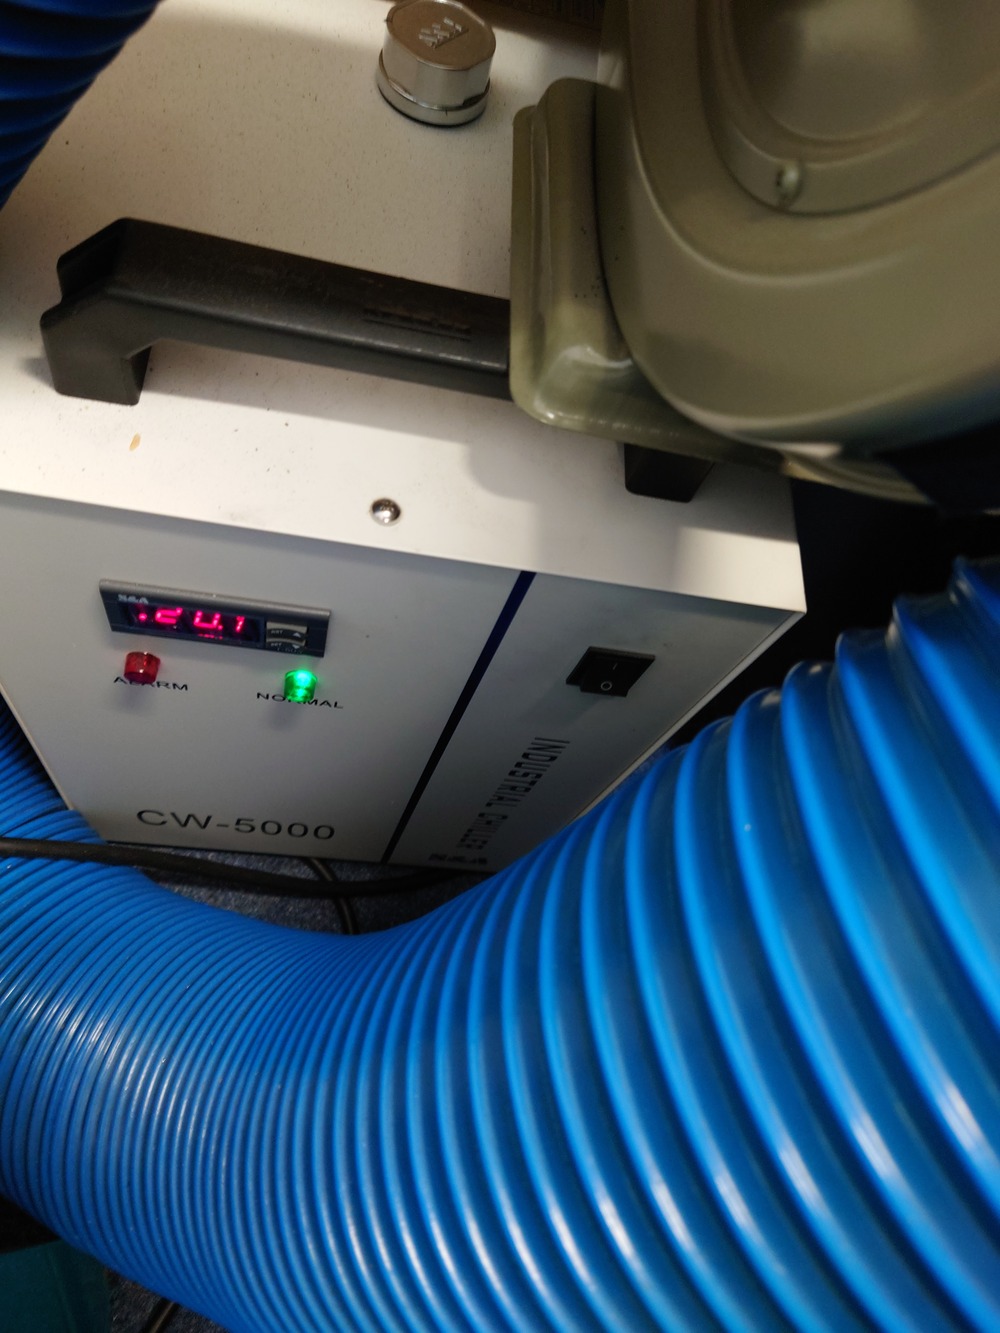
Then the cooling for the laser (behind the blue tube):
And afterwards the laser itself. It is on the bottom right side of the laser with the round switch (labeled 'main switch'):
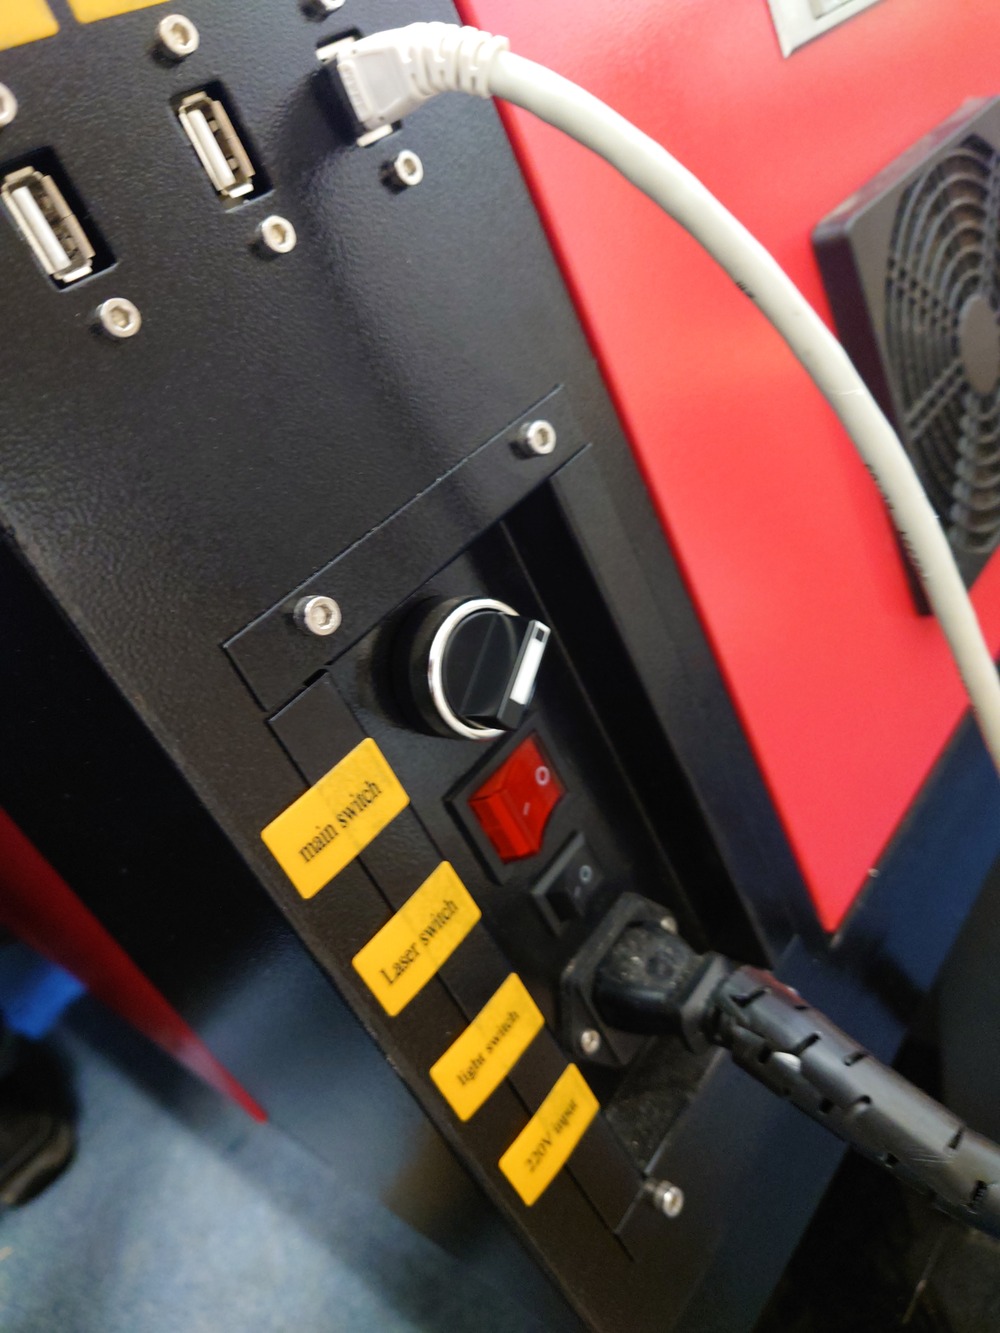
Also on the side panel there is the switch for the laser tube and the light switch. Only turn on the laser itself ('Laser switch') when needed.
2. Fasten Material
Next place the material and if its not heavy/flat enough, use the red/blue magnets and fixture onto the table.
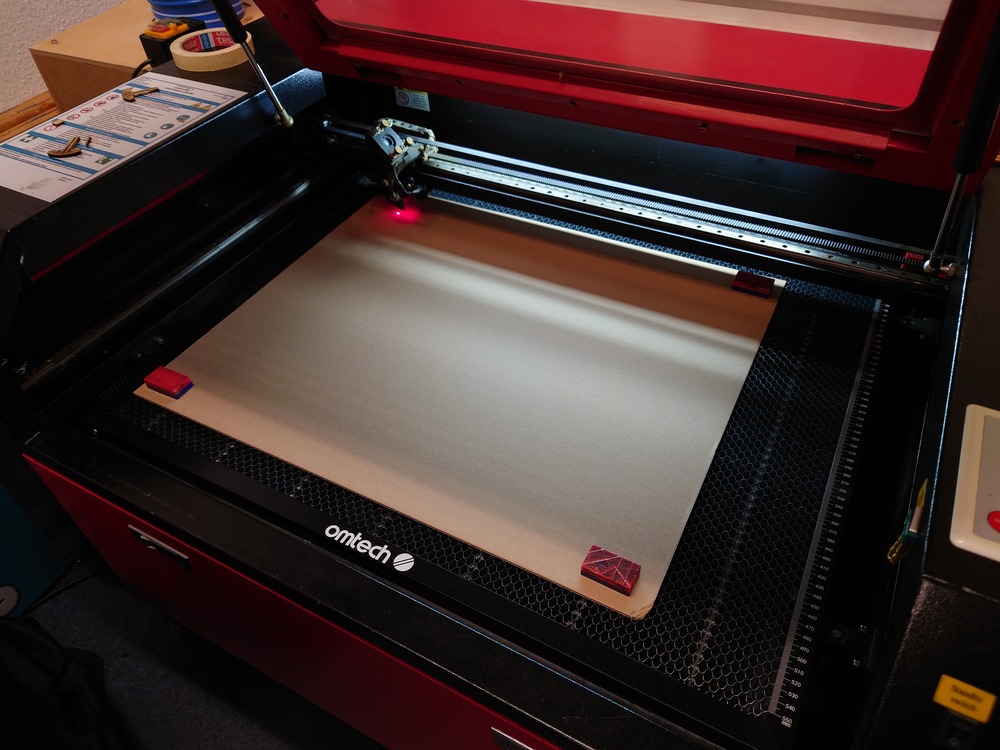
Then use the focus-piece and place it between material top and laser bottom.
TODO IMAGE
3. Adjust Focus
For a precise cut you have to set the focus onto the surface of the material. Use the top right side buttons for lift/lower the workplate.
