
How to Use
General Milling
1. Turn On
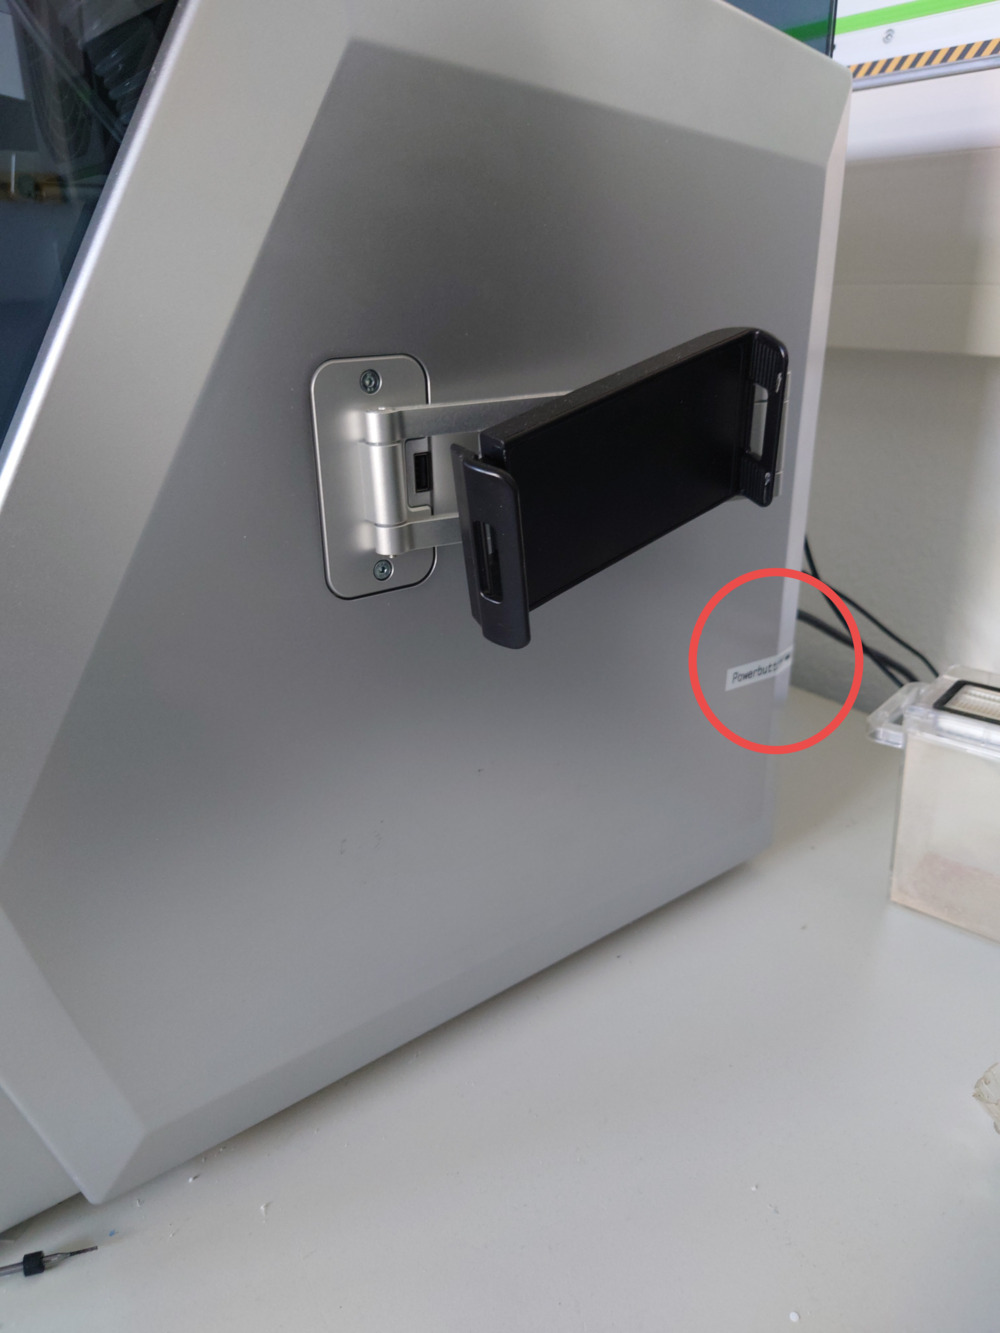
- Use the back switch to turn on the CNC
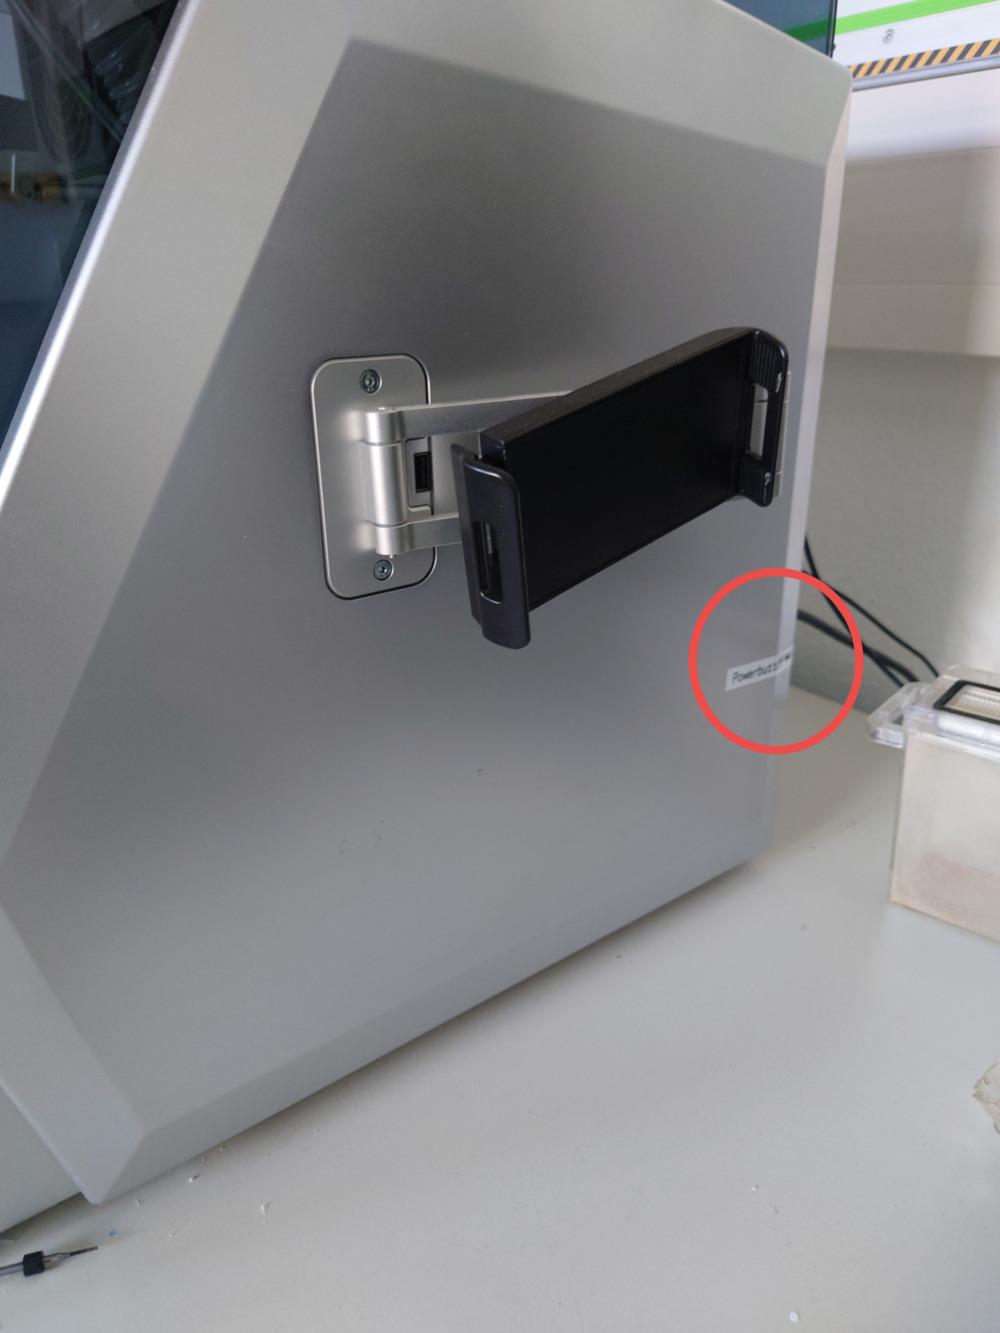
- The Fron-Button shows the status of the machine and is used for stand by, but because of the USB Connection, always use the back-button for tuning on and of the machine
2. Connect and Home
You should always home the machine before milling, (even after starting it as a good practice)!
- To do that, open makera controller:

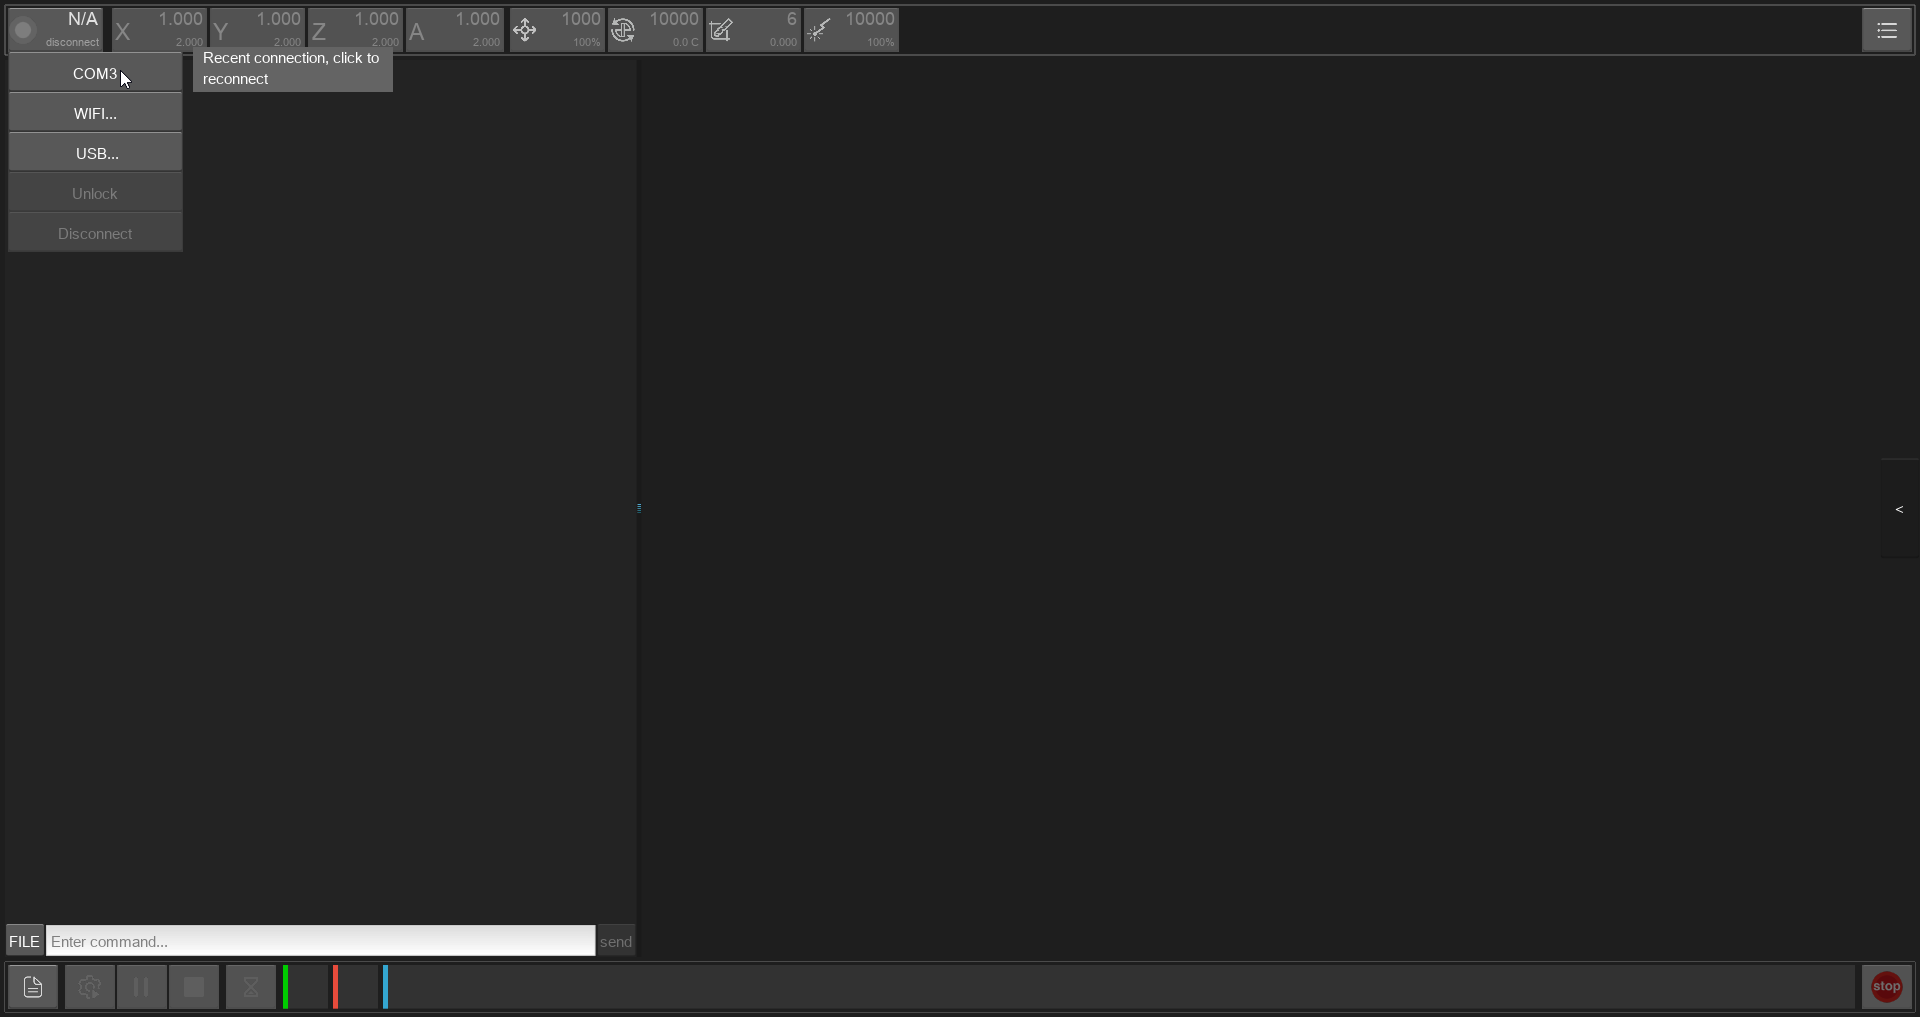
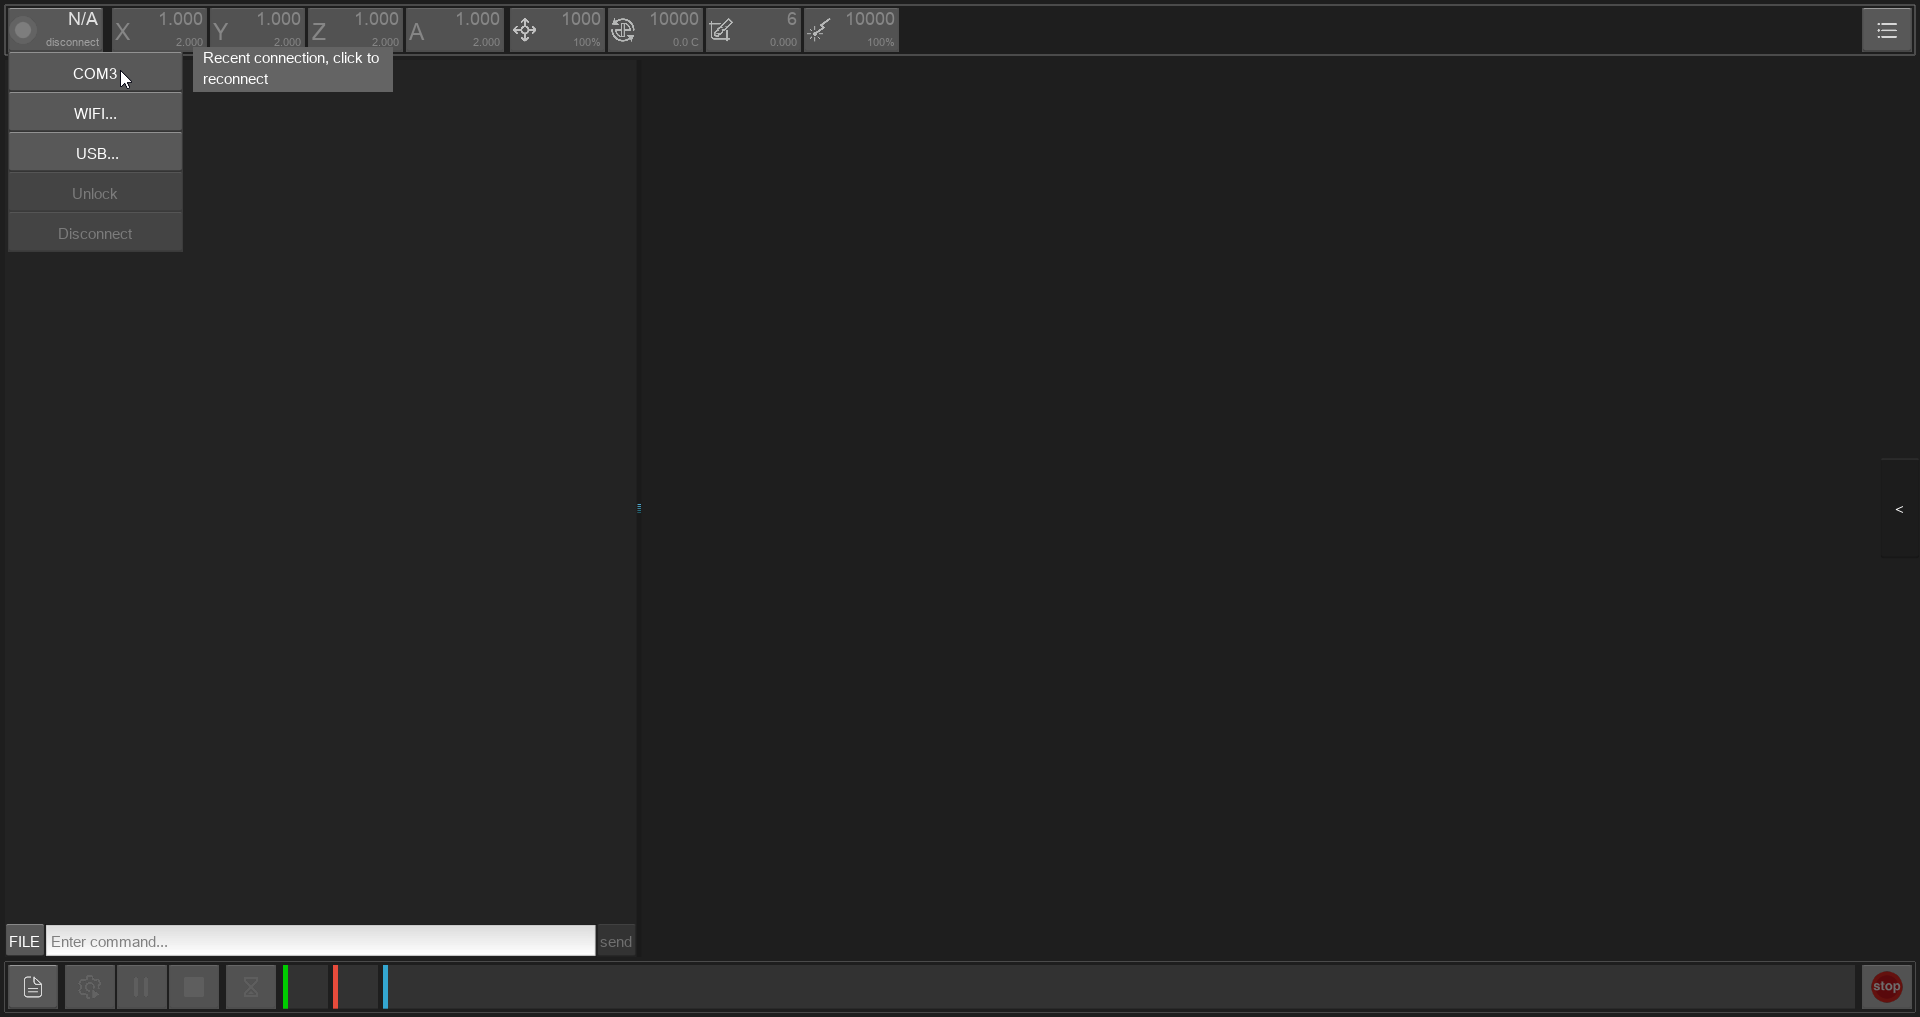
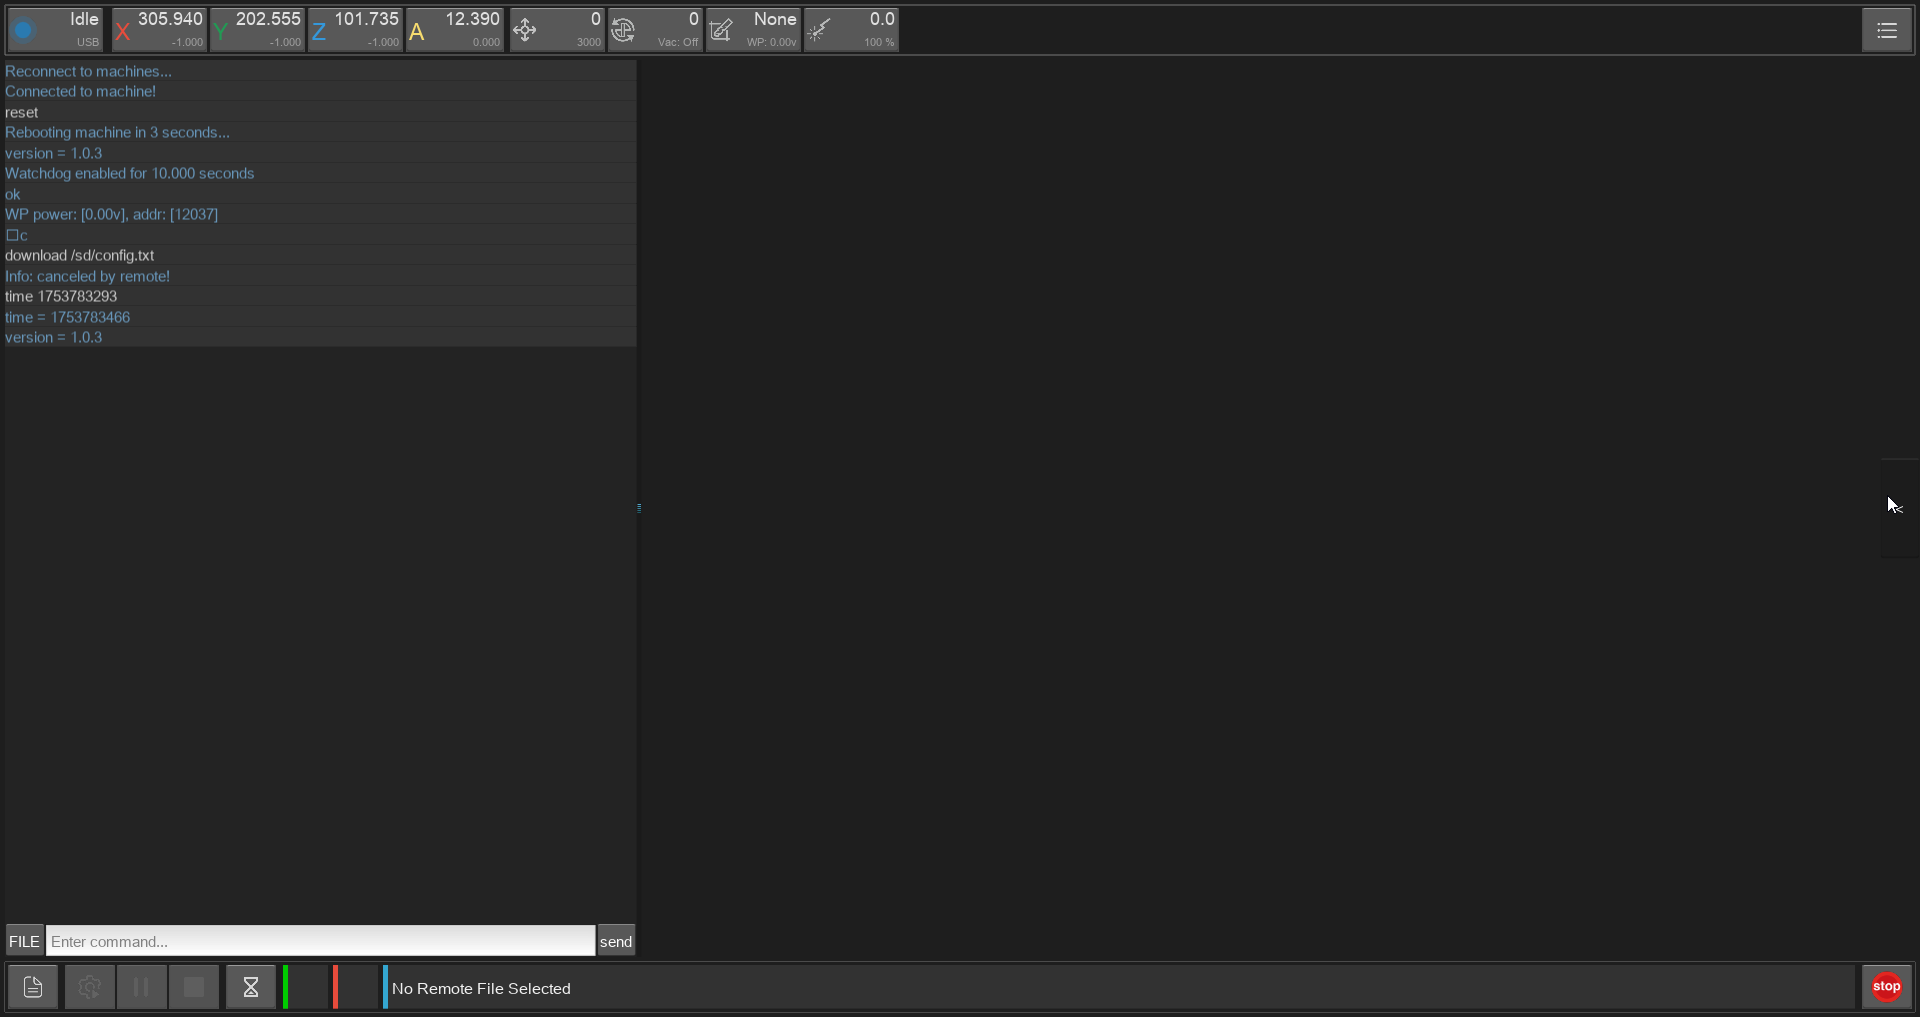
- Connect the software via USB on the top left corner:
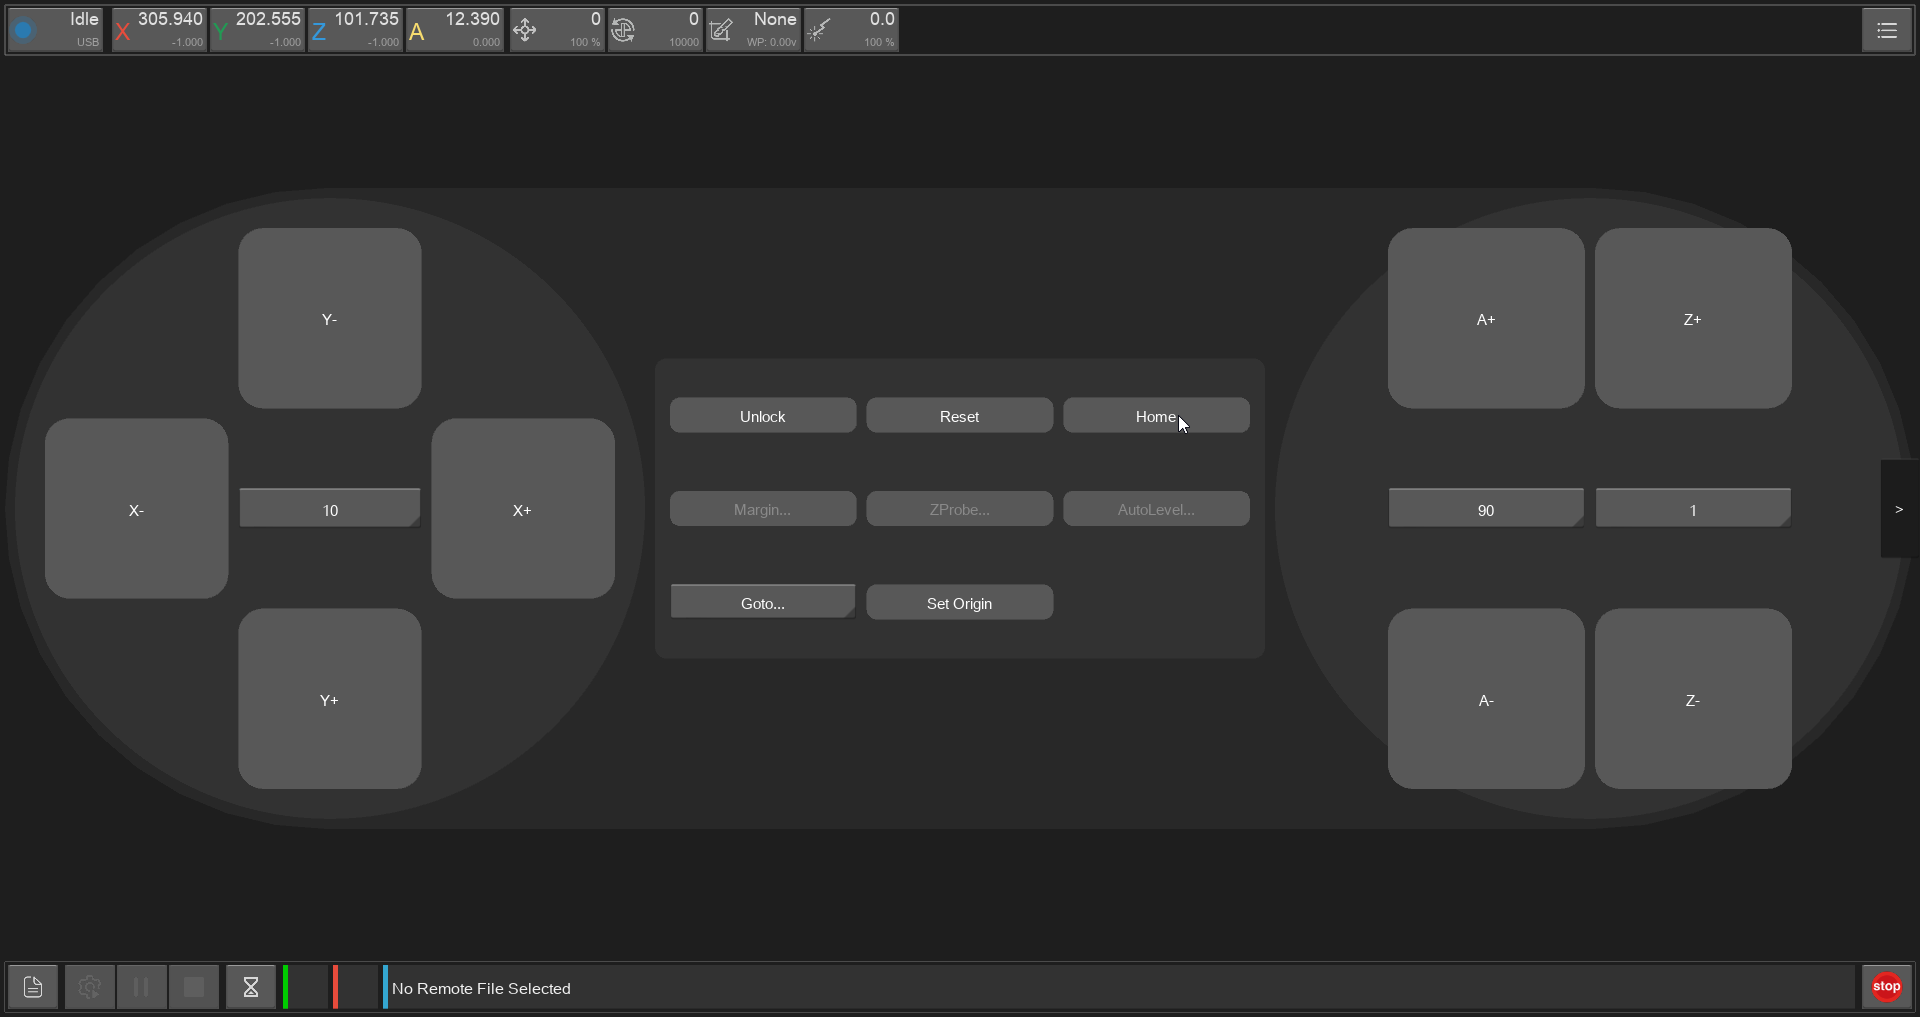
- Go to the side panel and press 'HOME':

| Side Panel Button on the right | Virtual Controller with 'HOME' in the middle |
|---|---|
 |
 |
3. Fasten the Workpiece
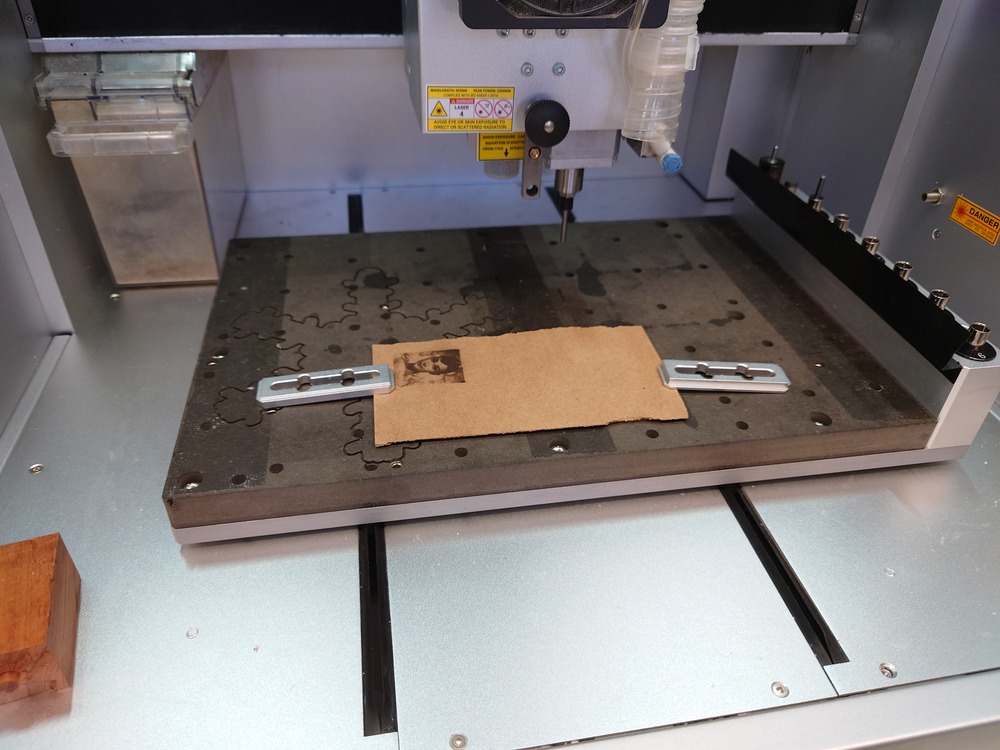
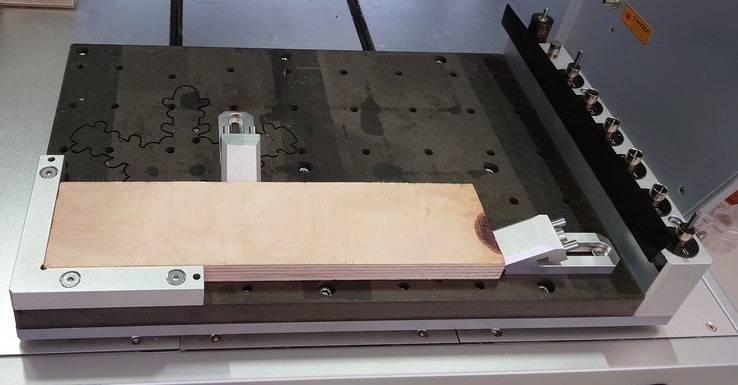
Then use the controller to move the bed thowards you and fasten your workpiece:
| Type of fastening | Example |
|---|---|
| Clamps Place the clamps on the bad and tighten the workpiece with them |
  |
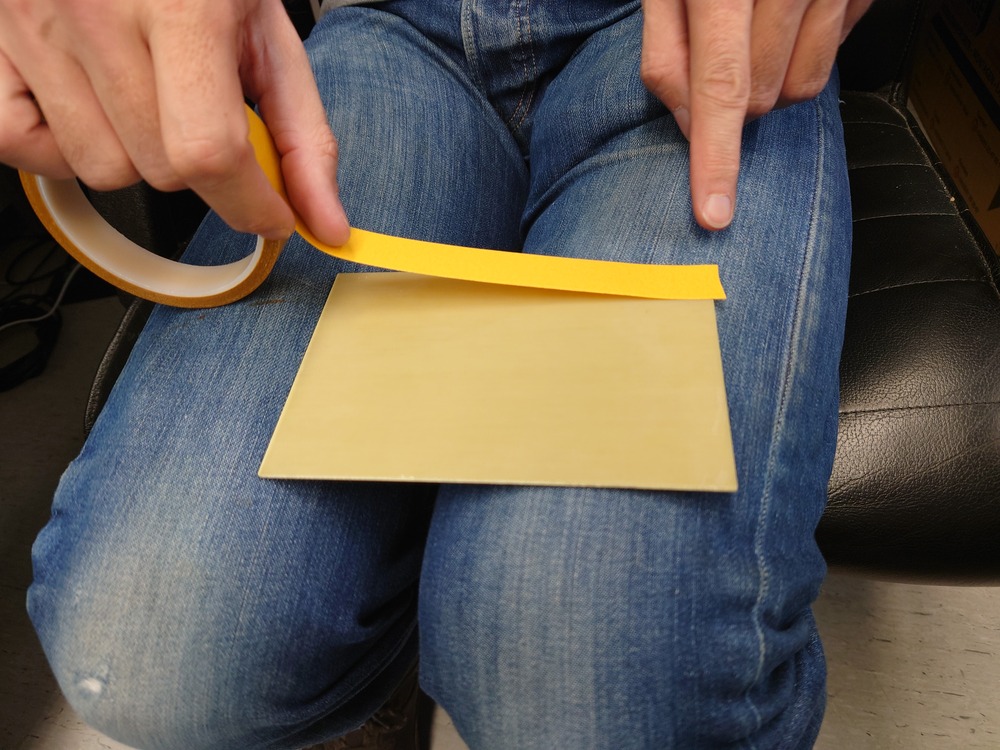
| Tape on a flat workpiece, place some tape on the bottom equally and just stick it onto the bed |
 |
| Screws | TODO |
| Vacuum | TODO |
4. Zero
Then go to you work origin and use top left buttons to set it individually:
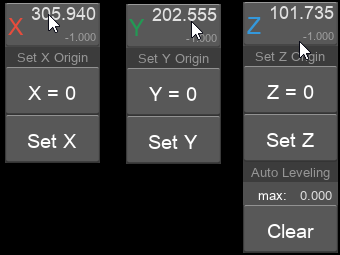
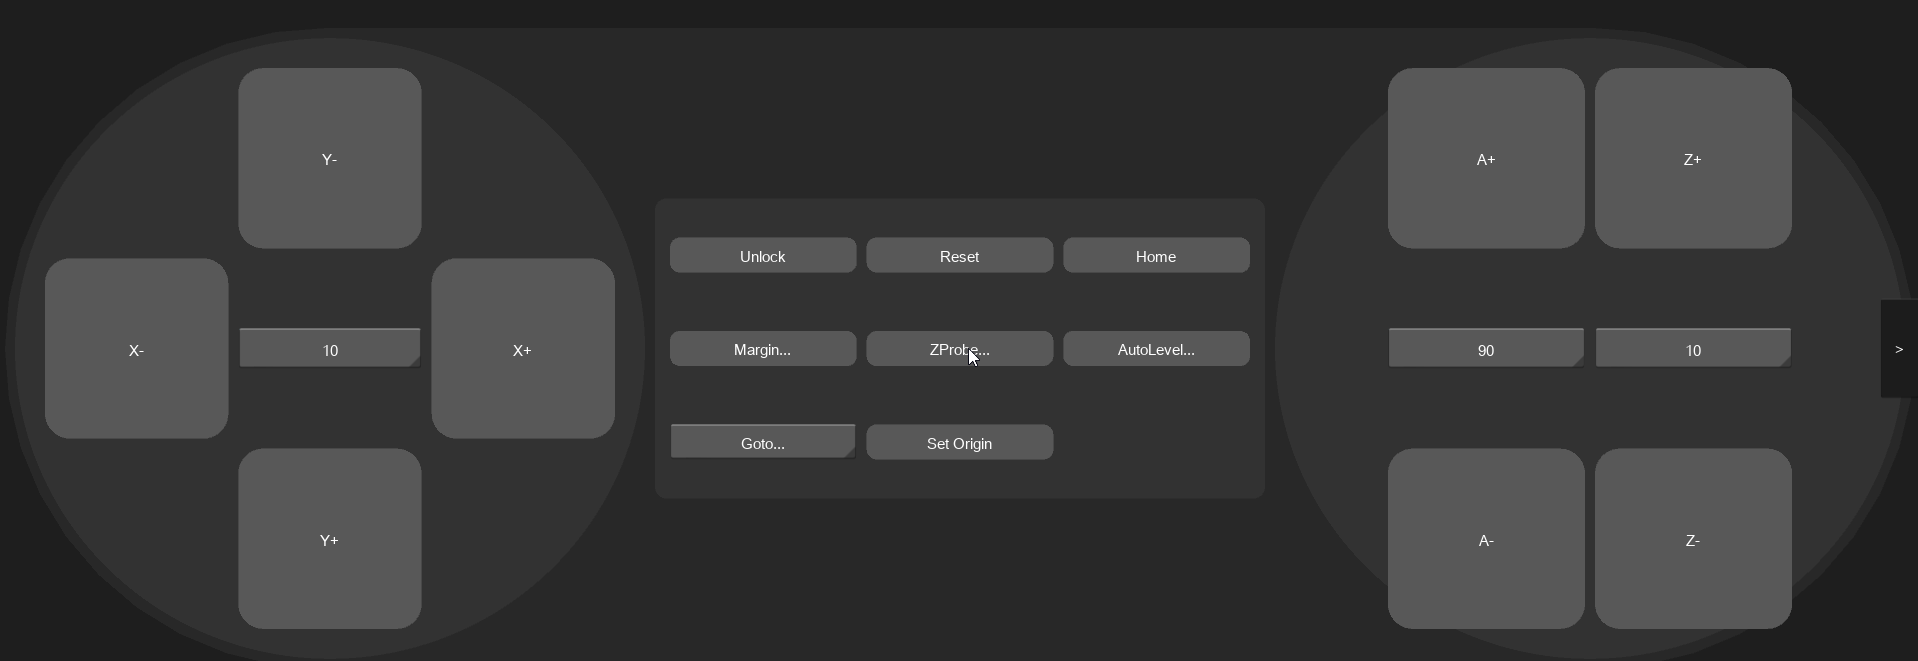
Or use the zerobutton 'Set Origin' in the controller on the right:
Auto Z Probe
Finding the Z-zero-point is more special because of the precision needed for it. For this, the Auto Z Probe can be used like this:
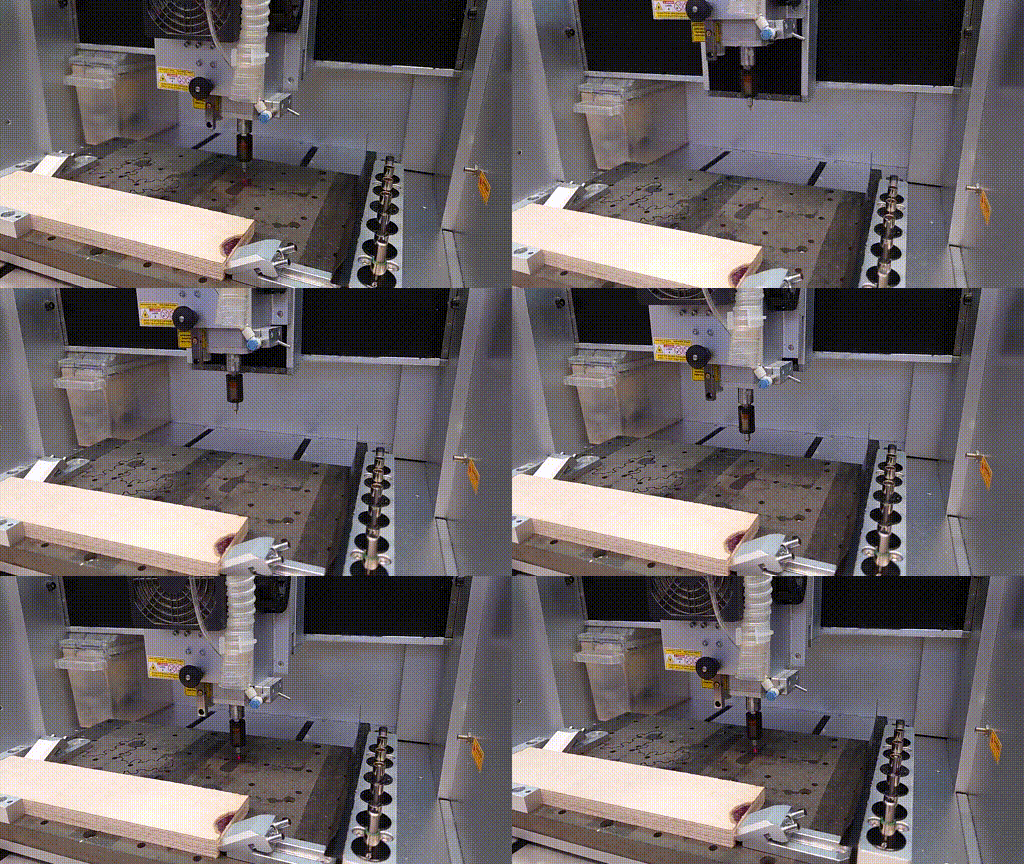
In this case we set the origin on the bottom of the workpiece.
Note
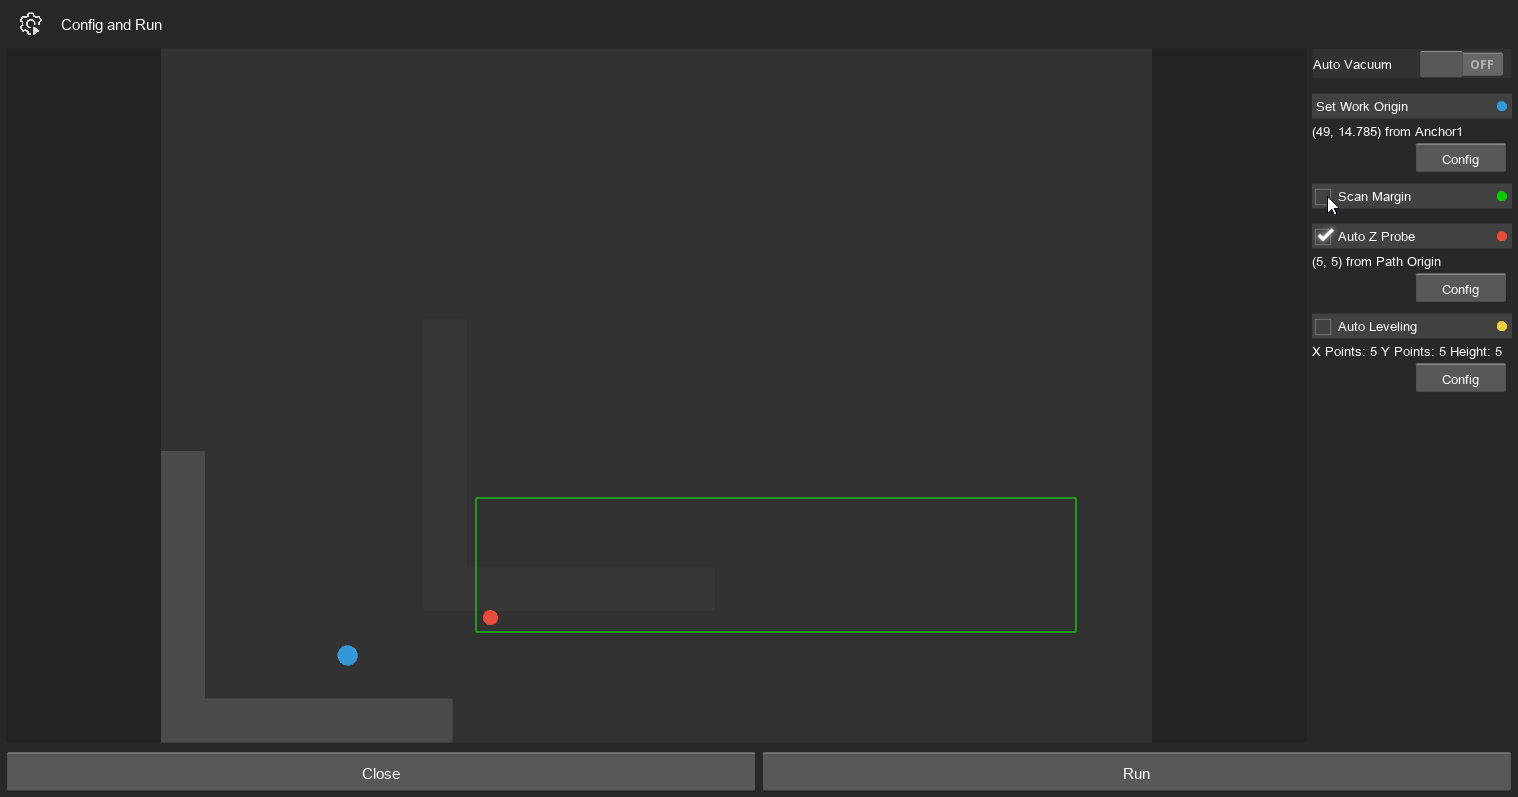
It is also possible to probe before the milling:
5. Upload & Start GCODE
First you need to upload a file to the machine, then select it and then, you can run it.
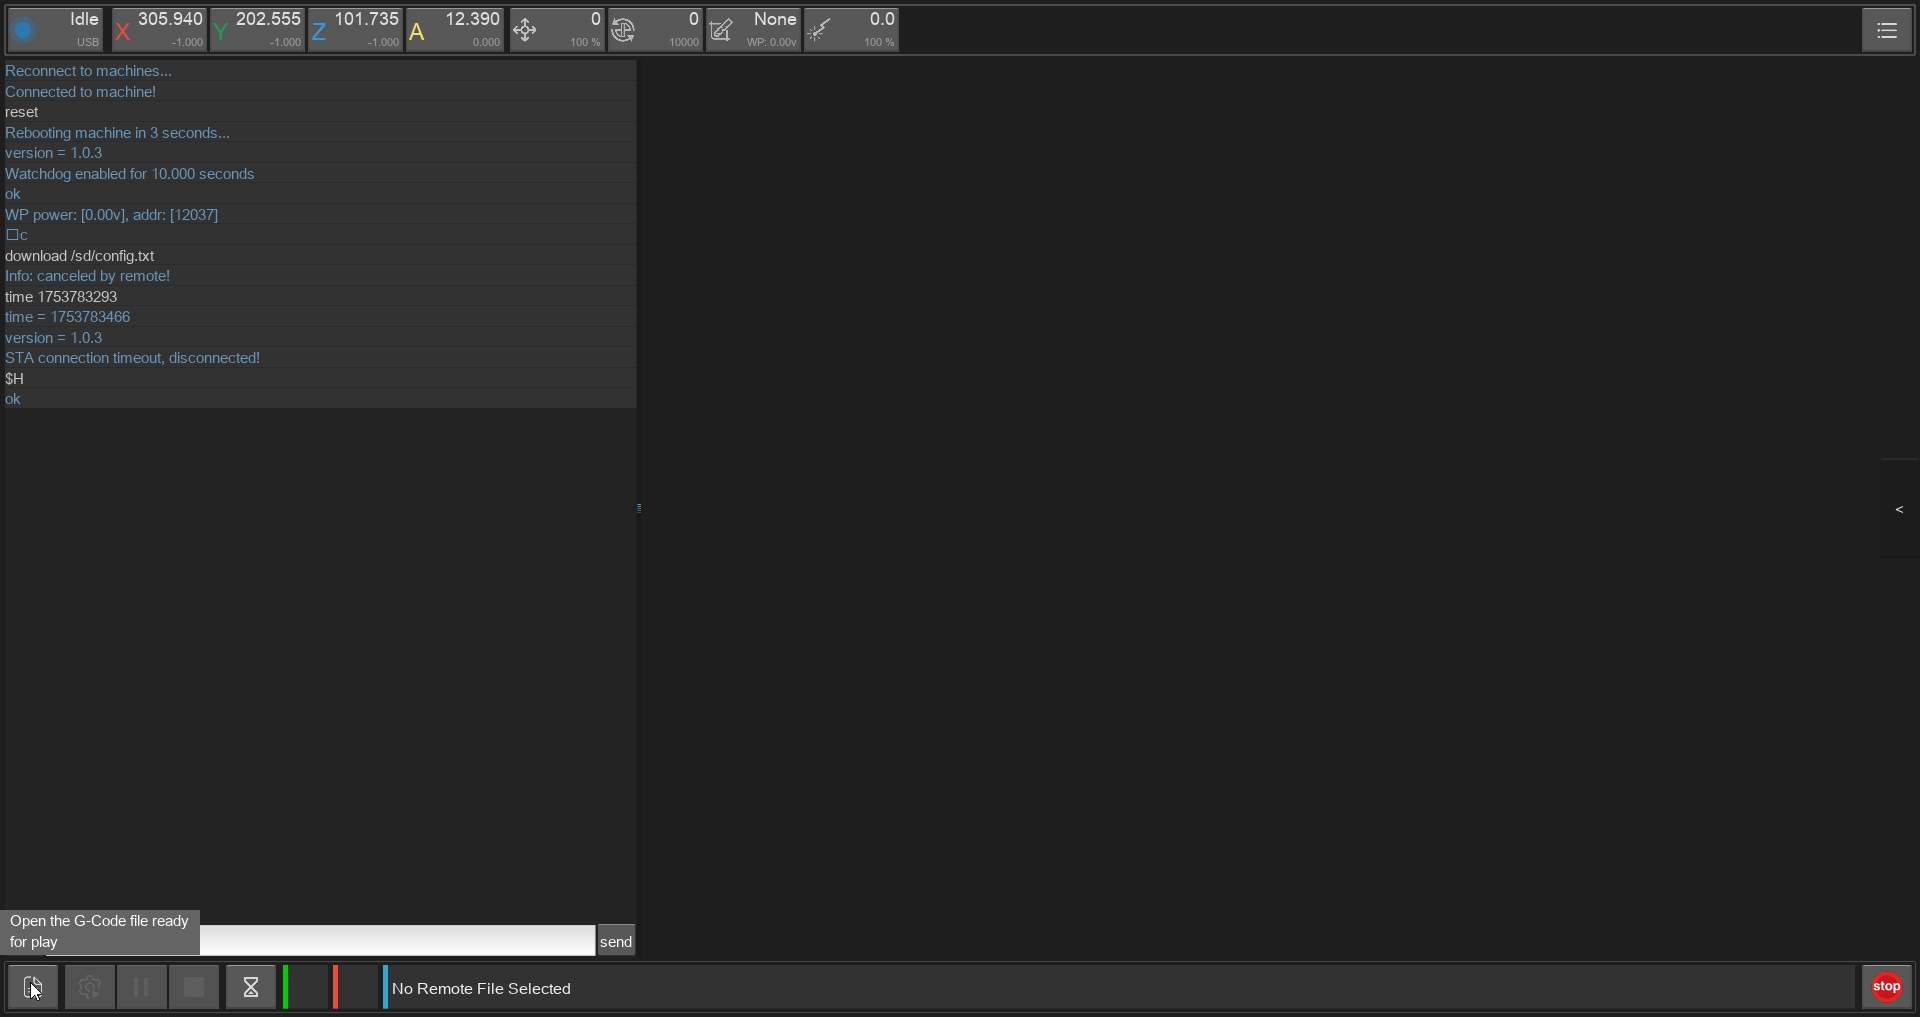 Then the carvera file-manager popup appears.
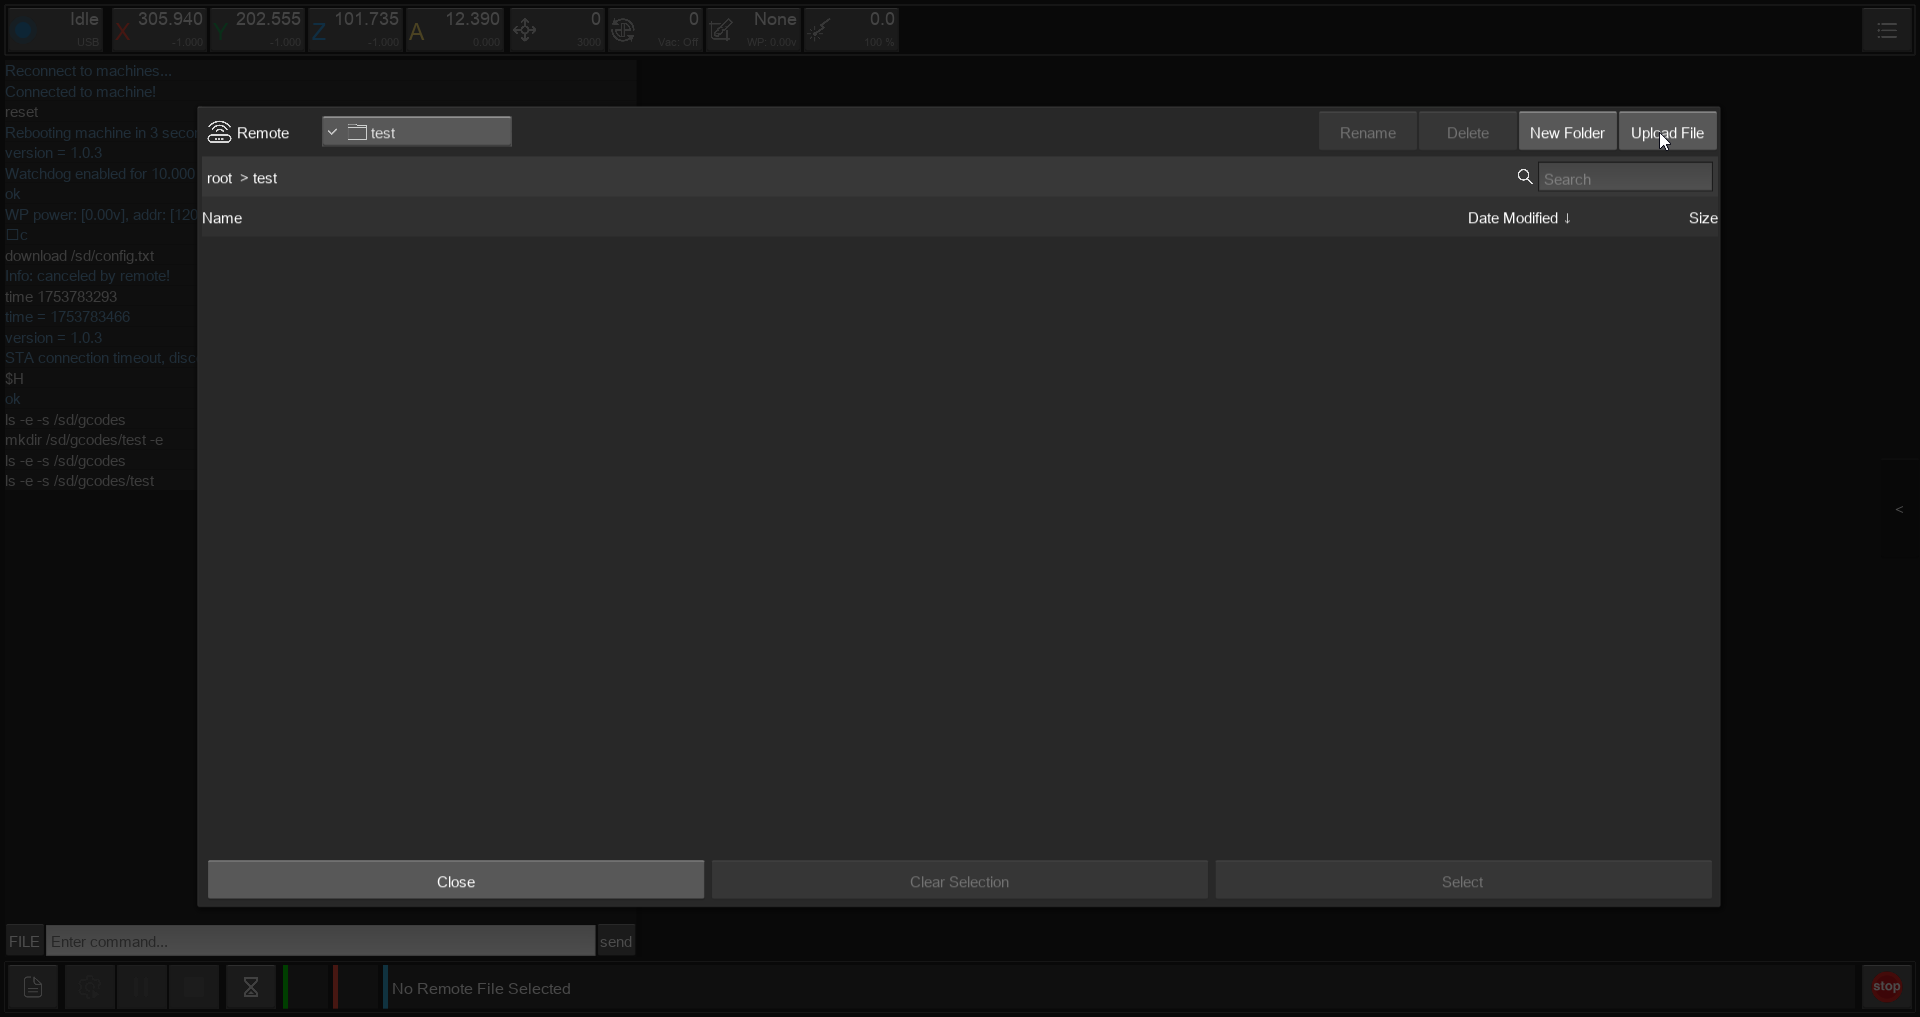
Then go to your folder/ create a new one for you and go to the top right 'Upload File'
Then the carvera file-manager popup appears.
Then go to your folder/ create a new one for you and go to the top right 'Upload File'
 Then use the top left to navigate to your file and then use 'Upload&Select' to load the file onto the machine and select it for milling.
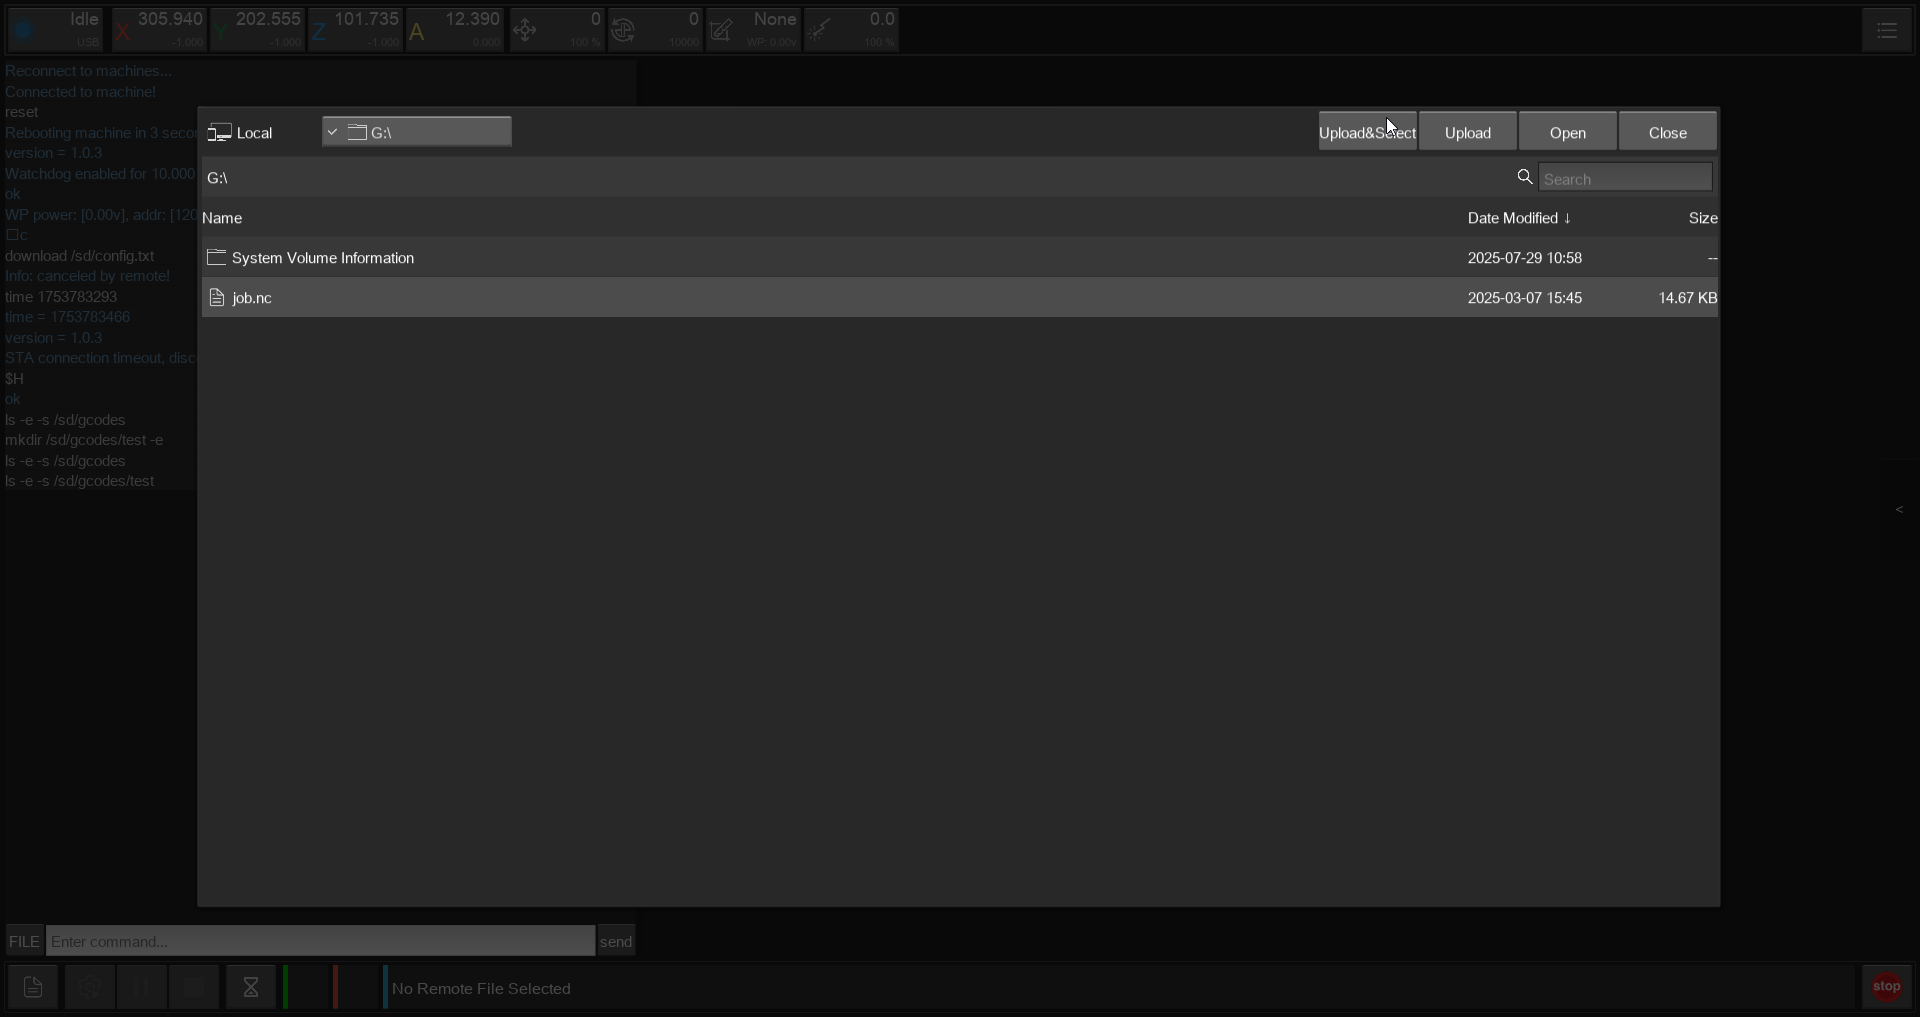 Or use 'Upload' then 'Close' on the screen and then 'Select' on the correct file in the other screen.
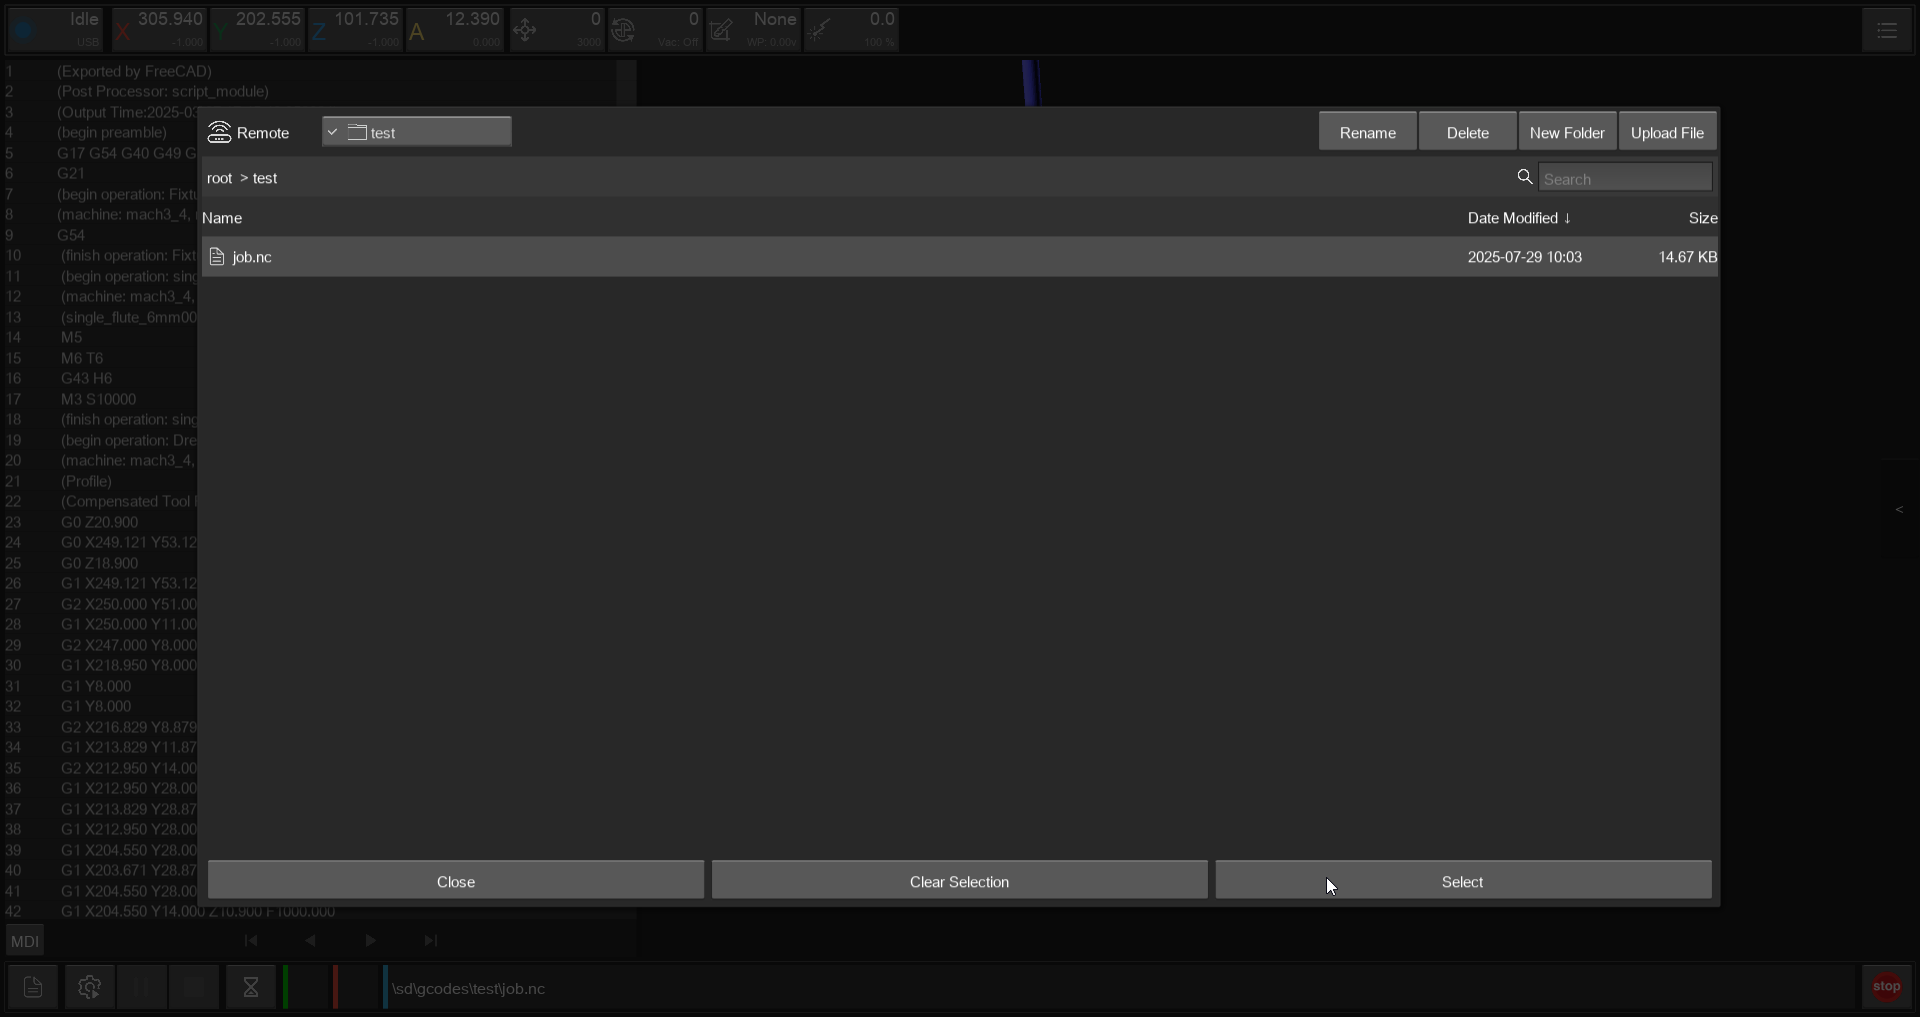 There should appear a preview of the GCODE, check the path and choosen tools. Then use the Gear-Icon on the bottom left to start the milling.
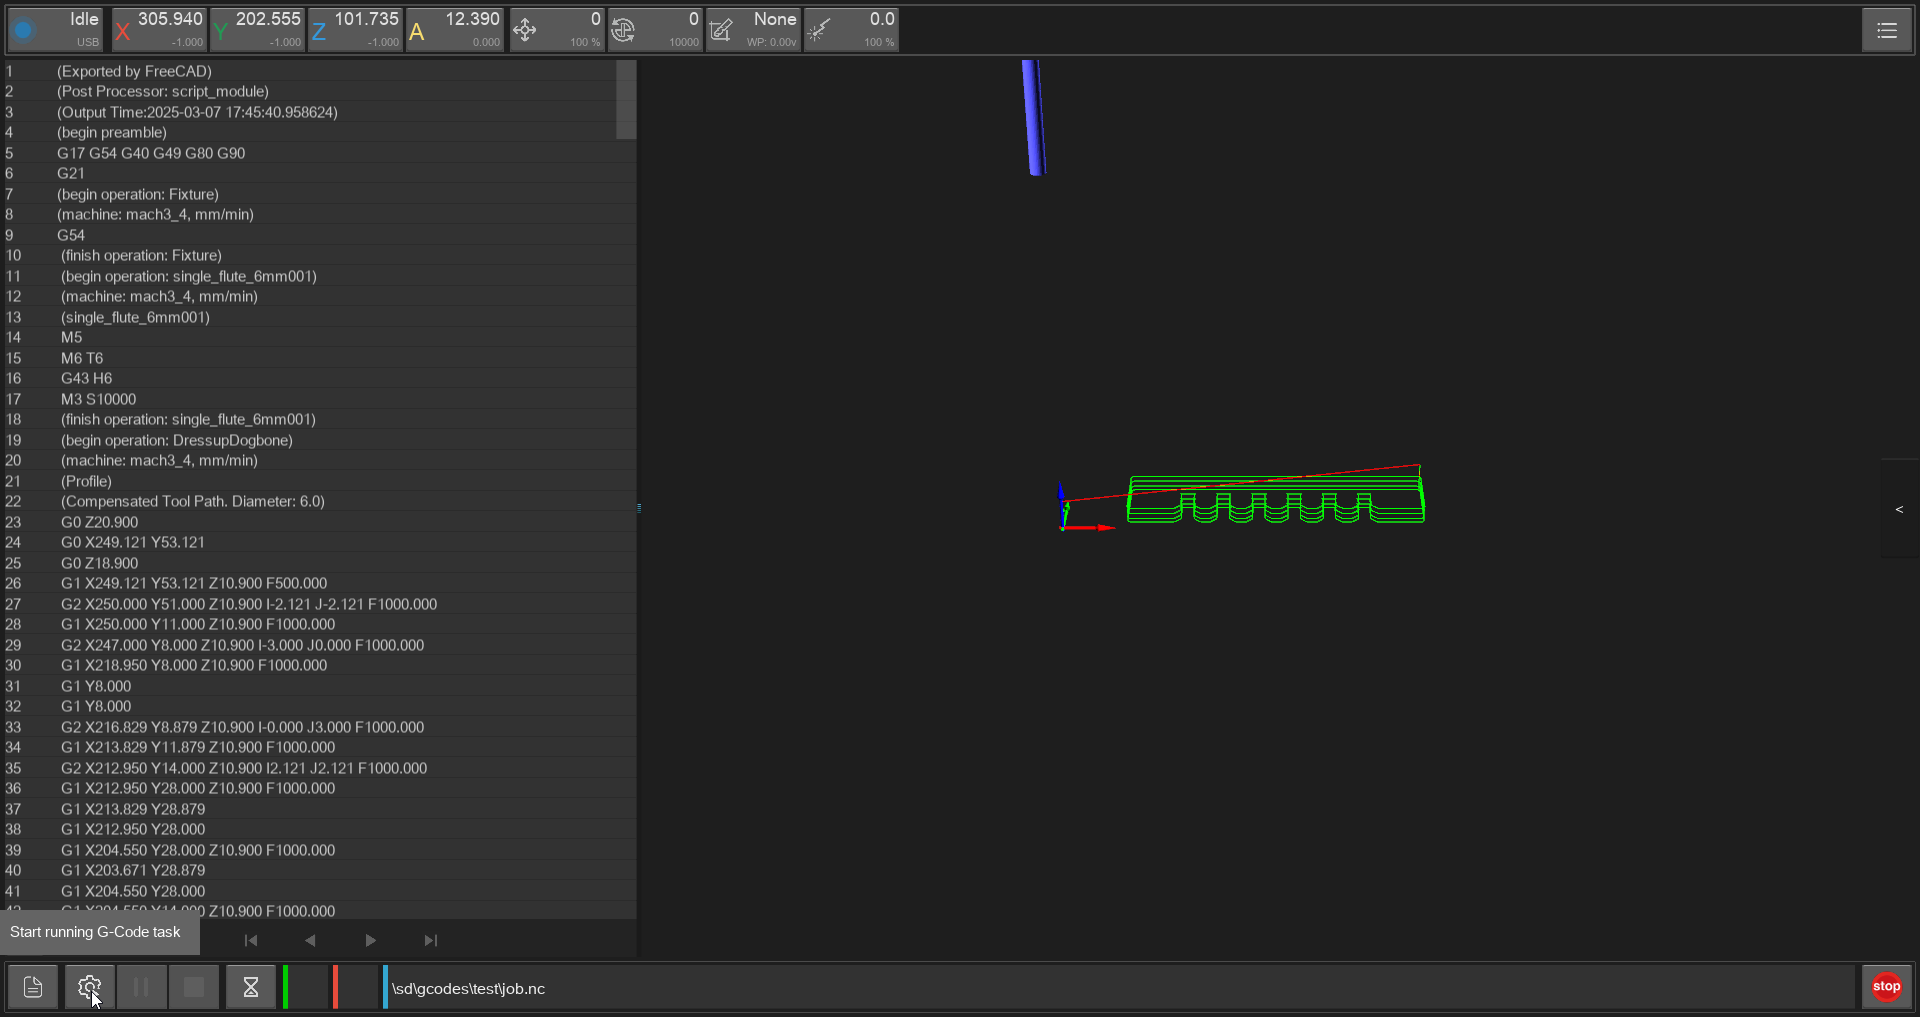 ALWAYS CHECK THE PATH ON THE BOTTOM!!
Then here deactivate 'Scan Margin' and if allready done 'Auto Z Probe' and press 'RUN'.